So, you are facing a problem, your laptop is not connecting to WiFi. That must be annoying, right? Trust me, after a while you feel like throwing away your laptop itself. I say this from personal experience. It has been the most painful encounter till date. But don’t worry, just because I went through this doesn’t mean you have to as well, which is why I have come up with this article on the topic of How to Solve Windows 10 No internet secured WiFi error.
Also Read:
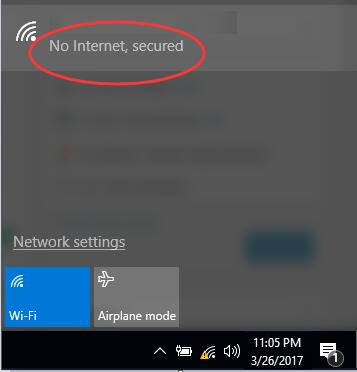
Fix Windows 10 No internet secured WiFi error
After you have read it, you will be free from the issue that you are currently facing. The instructions are very easy and amiable and are focused on the following points.
so, without any further ado, let us start with the various ways to resolve this impending issue.

Method 1: Use Network Troubleshooter
The first fix that you can try is Run Network Troubleshooter. To do this, you will be required to type troubleshooting in the search box at start menu, then click on Troubleshooting Control Panel that will be on the top.
After you have done that, type Network Adapter in the search box then click on Network Adapter, click on next following that step. Soon enough the problem which is causing such issues will be detected.
Method 2: Update Network Drivers
The next method that you can try is by updating Network Adapter driver. It is a possibility that the secured error could be happening because of driver issues. The steps that have been mentioned above may solve the issue but if at all they don’t or if you are not confident enough to tweak drivers manually then you can also do it automatically with Driver Easy. It will automatically recognize your system and locate the correct drivers for it.
This process will not require you to know what system your computer is running, you don’t even have to risk downloading and installing the wrong driver. It is a trustworthy corrective measure. Drivers can be updated for free either by free or pro version of Driver Easy. To do that you can, download and install Driver Easy, run it and click Scan Now button.
Method 3: Check and Edit Windows services
Third fix is checking if these Windows services are enabled. It is a fact that different Windows services are disabled because of virus or malware activities which causes the Wi-Fi error on your Windows 10. If you check the following services, it might deem helpful.
- TCP/IP NetBIOS Helper service
- Wireless lan
- DHCP
- DNS Client
- Function Discovery Resource Publication
- SSDP Discovery
- UPnP Device Host
Now if you are wondering how to check these, then you can make use of the instructions mentioned here. You will be required to press Windows logo key + R key at the sametime.Then type services.msc in the box and hit Enter that will open Services window. Check the services one by one, for
Then type services.msc in the box and hit Enter that will open Services window. Check the services one by one, for example, SSDP Discovery, scroll down to find on Services windows and then find out if its status is running or not. If it is not, you will be required to right-click on the service and after that click on start.
Method 4: Change Adapter Settings
- Open Network and Sharing Center.
- Select the change adapter settings from Network and Sharing Center.

- Open the Properties of the Network Adapter which is currently in use. (Local Area Connection or Wireless Adapter).

- Find Internet Protocol Version 6 (TCP/IPv6) > Open and uncheck it to disable IPv6.

- Click OK, and restart the computer.
One last thing that you can try is disabling your security software temporarily. Sometimes the security software that is present on the computer can also block the internet connection so if you disable it then it might fix the Wi-Fi error. But do remember to enable it back again.
I hope this article helped you with this nuisance. If you have any doubts or queries, please leave them in the comment section down below.