The internet is flooded with innumerable , but not all can serve the best purposes. One can need to create a presentation, a tutorial for students, or simply club various family vacation moments to better the viewing and understanding experiences without getting bored. There is no need to tale help of a professional for the editing work. One can use Filmora, the best software for editing videos and images, and do delicate blending to make stunning video presentations discarding the unwanted sectors or adding something extra.
Often it is challenging to record the screens of the computer or the iPads, and the videos we see are formatted in that way, and in-built software cannot record those formats. You may need the video playing on the screen to incorporate it with the presentation. If you wonder , then Filmora is the right software to install and use as a screen recorder.
Filmora screen recording software video editor is the best in the lot, and record, edit, export, add and save, making your tutorial or presentation perfect without any glitches.

Getting started to work with Filmora
Download the Filmora video editing software from the Wondershare website. The work process for Windows or Mac is almost the same, and the interface is quite simple and highly user-friendly. One can use this screen recorder for pc to make wonderful videos to promote business and share their thoughts with others to make the best presentation or tutorial. Download the latest version of this for windows that supports your operating system to juggle your videos and images and make an excellent presentation.
Working with Filmora
- Open the software and select your project. Now select the aspect ratio of your intended ratio. You can go for a widescreen presentation which is 16:9 or Portrait (9:16), Cinema (21:9), Standard (4:3), or for social media platforms like Instagram, having a ratio of 1:1. It is required so that the video fits the desired screen size without any distortion.
- Click on the new project icon highlighted on the screen. You will get all your settings options on the top of the screen like media, audio, titles, transitions split-screen, elements, and effects. Above this bar, you will get icons like File edit, tools, export, etc. Each of the setting tools has submenus to work with them when required.
- The media tracks are used to import the media, the audio helps to use the library, and other tools add special effects. Click the media, import the video and go for the playback option. Here, you can change the aspect ratio again or even customize it according to your requirements.
- Select the frame and the resolution of your footage, working with the Filmora Mac video editing software. If you do not know the details ignore the feature. As you import your first footage, this or other operating systems will automatically detect the details and prompt you to make the changes.
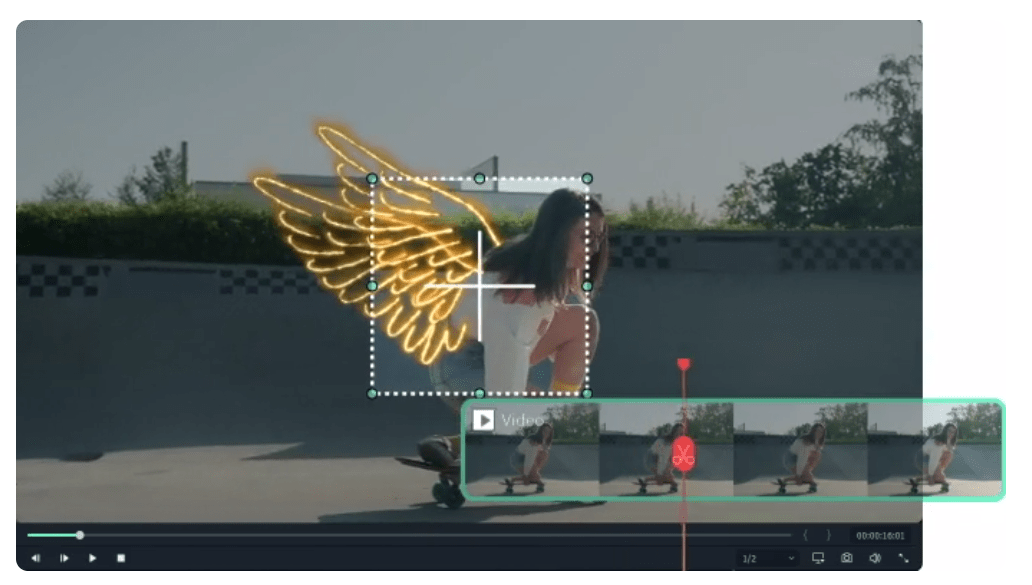
- Look at the timeline box below the main window. It has all the components to edit the video, take snapshots of a particular object on the video, adjust and mix volumes, add audio, and many others. You will also get cut, split, delete, undo, and redo options. Bring all the video, audio, music, and graphic files on the black screen. Select each file and click open to upload it to the Filmora platform. Bring the video footage down in the timeline section. Start to trim the videos.
- Discard the unwanted portions with the playback option. Use the scissors option to remove the gap and maintain continuity. Thus, it is easy to trim the beginning, end, or part of your video with this method.
- Suppose you want to add any clip or images, cut and paste it at the intended time section of the video. Add all the overly footage in this method. Select the file and add it through the drag and down method if you want to add music or any audio track. Add text, titles, or graphics by clicking the Title icon and selecting the files. Go for the color correction option and adjust the color of your video.

- If you are thinking of how to screen record, use this software and open the screen casting section. Start with the Filmora screen recorder for pc and press the start button. This screen video recorder will start recording the screen after a pause of 3 seconds. If you want to stop recording, press F9, and the file will be saved and will automatically open up for editing.
Conclusion
It is not rocket science to use the Filmora for iPad and master the tips and tricks. It is the best software for editing videos, adding special effects, music, or screen recordings, and the interface is pretty simple. Now make videos like Pro using Filmora editing software and feel the differences.
