Sleep mode is a special function in windows OS that keep your computer in working mode when you are not using it, and your machine enter into a lower power state. Taking a break for lunch could be such an example. When you return to it, all you need to do is press a button, and your desktop computer and apps return to the state where you left them. In this guide, what I refer to as Sleep is automatic Sleep that is when you step away from the system for a time, and your system goes to Sleep.
Hibernation saves part or all of the operating system’s working state to the huge Hibernation file on the hard disk and then powers off so when the system starts it up merely resumes from the stored state on the hard disk. The sleeping mode or sleep condition is a low-power state available in Windows operating system, such as Windows 10. This low power sleep mode is useful, especially for laptop and tablet users to extend the battery life.
Since the sleeping condition draws a little bit of power, on a battery powered device, if the battery level falls below a critical level, Windows automatically puts the device into the hibernation mode (if enabled) to protect against any data loss.
In sleep mode the PC goes to a low power consuming condition, turn off the screen and goes to what called sleep mode. You may resume your work on your computer or wake up your PC by hitting any key or your mouse. Normally the default time when a PC goes to the sleep mode is set to 15 minutes. It is far better to turn off sleep mode in these instances for an uninterrupted PC action. Lets us see how to disable sleep mode in windows 10.
Enable or disable sleep mode
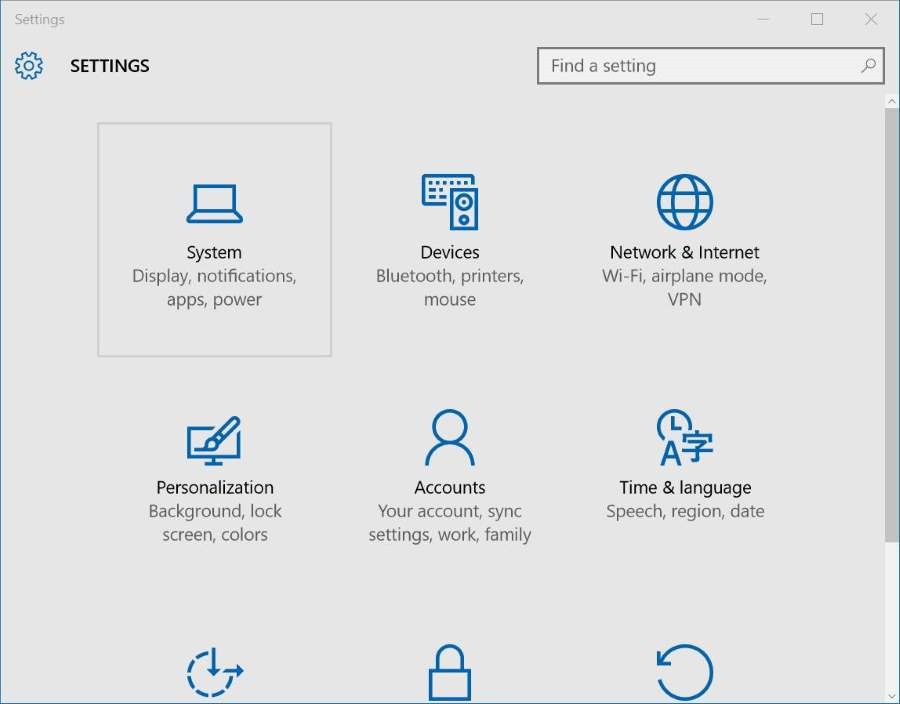
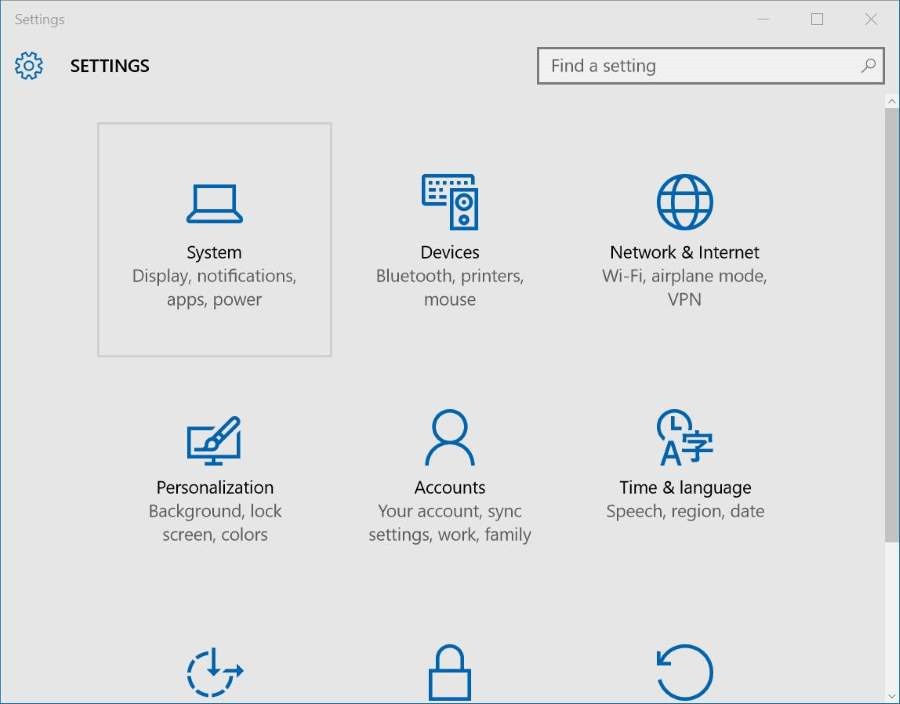
- Open Settings > System > click Power & Sleep.

- Under Sleep section, you will see two options:

On battery power, PC goes to sleep after
When plugged in, PC goes to sleep after

- For both options, expand the drop-down menu and select Never. That’s it! Your PC will never go to sleep mode again.
Comment below if you need any help with Windows 10.
