A video scheduler internal error is the most common internal error one can experience. It happens due to several reasons. Internal errors such as Blue screen of Death (BSoD) is the term used to explain various fatal errors our computer system encounters. It may happen for software or hardware related issues. The main problem with these types of errors is that when such errors happen most of the time the message is not clear. But still, you can get some clue from these errors.
Here in this article, we will discuss an internal error popularly known as video scheduler internal error. We will discuss the various ways you can use to encounter this kind of problem. Make sure you bookmark this article to get help in case you encounter the same issue in the future. So here we go –
What Is The Video Scheduler Internal Error?
Video scheduler error is a common error experienced by most of the Windows 10 users. As you can guess from the name the error is associated with video, yes a video scheduler internal error is related to your graphics card. It may show an error for various reasons. Some of them are based on the recent changes you have made in your hardware or software because of the presence of a corrupt file in your system. It may also happen due to a corrupt system registry, due to any malware or virus infection, or because of an outdated graphics driver.
In this article, we have compiled various methods that you can use for solving the video scheduler internal error of your computer system. So read till the end.
How To Solve Video Scheduler Internal Error?
Here are some methods and steps that you can use to solve your video scheduler internal error:
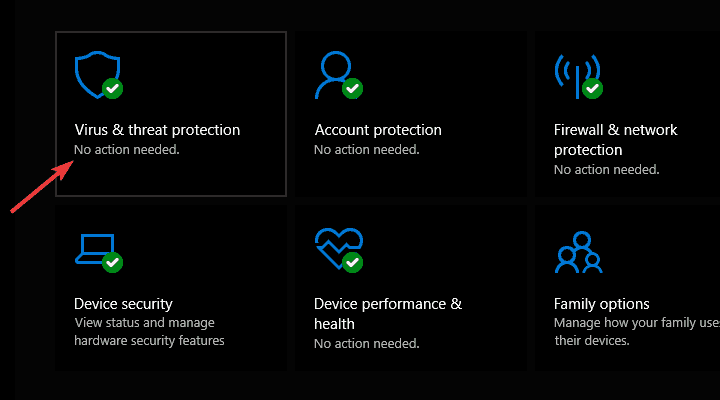
1. Run a full computer system scan
Step 1: Go to your Computer start menu and type “Windows Defender”
Step 2: Double click on the Windows Defender search result, it pops up.
Step 3: When you go to the Windows defender window you can find a shield icon there.

Step 4: Click on that and in the next window you will find “Advances Scans”.
Step 5: Select the option “Advances scan”.
Step 6: Click on that and launch a full system scan for your Windows.

If the video scheduler error was caused by any malware or virus infection then this full system scan can help you to detect and fix such issues. After the full scan is done you will have to restart your system and you are done. You will not experience the video scheduler error again.
2. Repair your Registry
Step 1: Go to your Computer “start” menu and type “cmd” there.
Step 2: Right-click on the result and run it as an administrator.
Step 3: Now in the next window write the command sfc /scannow and hit “Enter”

Step 4: Wait for a few minutes and then when the process ends just restart your PC.
This is another way to fix the video scheduler error by repairing your registry.
3. Update your video driver
Step 1: Press the Windows and R keys from your keyboard to open the Run Window.
Step 2: In the Run window type devmgmt.msc and then click ok to open the device manager of your system.

Step 3: From the device manager window, click on “Display Adapter” to expand it and then right-click on your video driver.
Step 4: Select the option “Update Driver”
Step 5: Wait for some time, after the update process ends. Restart your computer and you are done.

4. Reinstall video card driver
Step 1: Press the Windows and R keys from your keyboard to open the Run Window.
Step 2: In the Run window type devmgmt.msc and then click OK to open the device manager of your system.
Step 3: From the device manager window, click on “Display Adapter” to expand it and then right-click on your video driver.
Step 4: Select the option “Uninstall Driver” and then restart your computer.
Step 5: After restarting your computer just reinstall the latest video card driver and you are done.
5. Uninstall latest installed hardware or software
Step 1: Go to your Computer “start” menu and type “Apps and Programs” there and double click on the search result when it pops up.
Step 2: When you go to the new window, click on the “Installed” from the drop-down menu.

Step 3: Find the latest installed program on your computer and then “uninstall” it from your computer.
Step 4: Just restart your computer and you are done.
In addition, the video scheduler internal error may happen due to any recent installation of new hardware or software so in that case, try to figure out that hardware to software and then remove the hardware or uninstall the software for solving this problem. Don’t forget to restart your computer after uninstalling or after removing anything from it.
6. Update your Windows OS
Step 1: Go to your computer “Start” menu and type “update” in the search box. Click on the search result to proceed.

Step 2: In the next window update your window by checking for the latest updates and installing them after that.
Step 3: After the update process ends just simply restart your computer and you are good to go.
You can also try to update your windows quite often to the latest version of the windows for not experiencing this kind of problem again in the future.
Still facing the issue- Here’s what to do?
If you have used all the above- mentioned ways and you are still having issues then you can easily fix the problem by using a simple tool, which is a PC repair tool. It will help you fix this problem in 3 simple steps :

- Download the latest version of this .
- Click on the “Start Scan” option.
- It will scan your computer and then it will repair all the issues that may be causing the video scheduler error in your system.
The Final Note:
So that’s it! We hope that the solutions listed above help you to fix the video scheduler internal error issue.
Thanks for reading the article. Drop your queries in the comment section. We would love to answer all your queries.