LAN, the local area network is a computer network. Local area network, as the name suggests means network that is limited to a local area like, home, building, office, etc. It covers a very small area, which means the network it provided is limited to a very small area. Local area networks are very smaller than WAN (Wide Area Network) and it is mostly established by ethernet and WiFi. WLAN Wireless local area network which means the network is controlled by a Wi-Fi.
Here in this article, we are going to share how you can connect computers in LAN and use multiple PC with the same network.
Types of local area network (LAN)
There are many types of as the main source of connecting devices to the router or the source. there is only one device that transmits data or provides network and other devices are connected to it for receiving the network. Lately, lands are using the Apple Macintosh networks that are based on Apple’s AppleTalk network system. LAN can be of many types, These types cannot be listed, so there are some characteristics which can differentiate LAN. The characteristic that differentiates LANs are as follows: –
Topology- Topology is the frame in which devices are connected to the source. There are many types of topologies such as bus topology, star topology, tree topology. topologies are also known as the geometric framework of devices.
Protocol- protocol is a set of rules used Used to send data. There can be many protocols that can differentiate LAN. a local area network can use peer to peer or client/ server protocol to send and receive data.
Media- which type of media is used to connect the devices to the source can differentiate the type of LAN. The user can use an auxiliary cable to join the devices. Or else you can use the wireless medium to connect the devices.
How To Connect Computers via LAN?
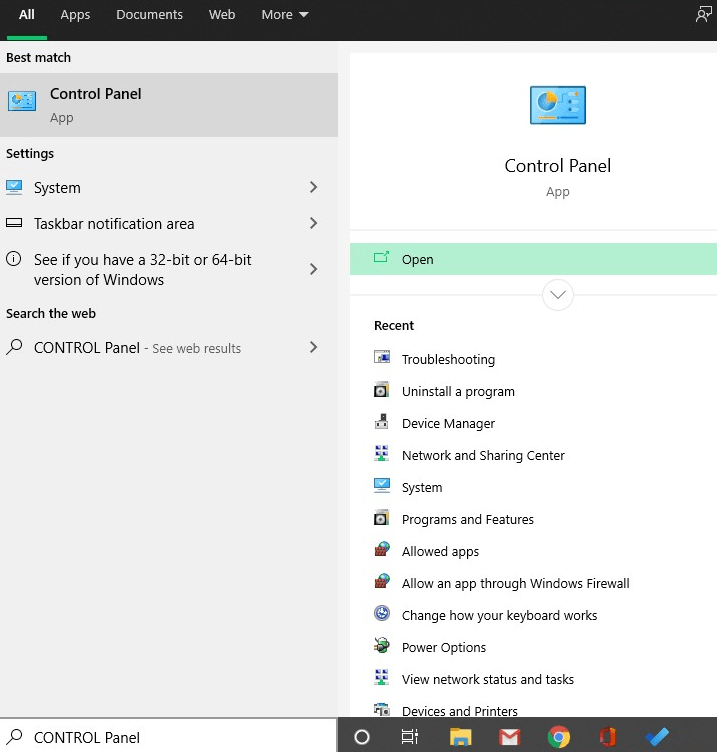
Step 1- Click on the Start button and search control panel and click on the first option.

Step 2- when the control panel window opens, click on the network and internet option.
Step 3- click on the network and share a label.
Step 4- on the left-hand side of the window look for the change adapter settings option.
Step 5- select your LAN connection and right-click on it.

Step 6- select the properties option.
Step 7- when the properties window will open, go to the networking tab.
Step 8- look for the “Internet protocol version 4 (TCP/IPv4)” option.

Step 9- select that option and select the properties option.
Step 10- set the subnet and IP address in both the systems simultaneously.

Step 11- connect both ends of the ethernet cable to both the computers.
Step 12- to check the connection open the command prompt and type “ping 192.168.0.2 -t :from 2nd PC”
Step 13- this is how you will know if your connection is working or not.
How To Change Default Sharing Setting?
Step 1- Click on the start button and type control panel.
Step 2- Select the first option.
Step 3- When the control panel window opens click on the network and internet option.
Step 4- Click on the network and sharing option.
Step 5- Now click on Change advanced sharing settings.

Step 6- Turn on network discovery and then turn on file and printer sharing.
Step 7- Allow Windows to manage homegroup connection (recommended).
Step 8- Turn on sharing so anyone with network access can read and write files in the public folders.
Step 9- Use 128-bit encryption to help protect files sharing connections (recommended).
Step 10- Turn off password protected sharing.

That’s it for this post. Comment your views for this article. If you need any help then contact us.