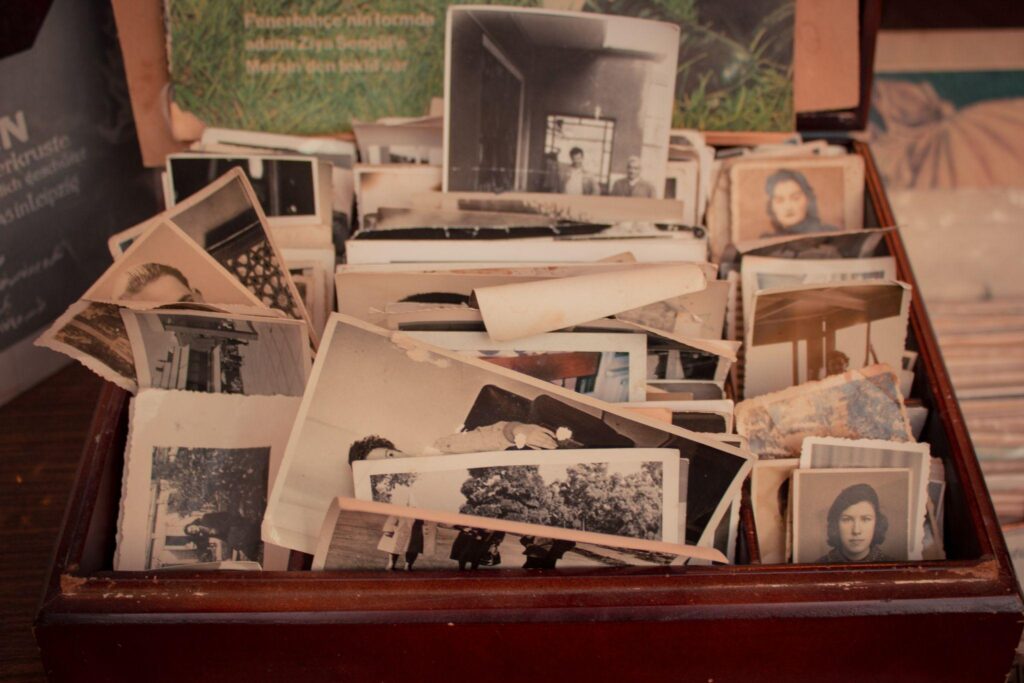
Old photographs hold sentimental value as they capture precious moments from the past. Over time, however, these precious images can become faded, torn, or damaged. While professional restoration services are available, there is something quite special about doing it yourself. In this blog post, you will discover how to restore old pictures manually with our step-by-step guide so you can preserve and revive those treasured memories with your own hands.
Step 1: Gather the Necessary Supplies
Before you start the restoration process, gather all the supplies you need. These may include a soft brush, microfiber cloth, archival gloves, acid-free materials for storing the photos, a magnifying glass, scissors, and acid-free tape.
Step 2: Assess the Damage
Examine the photo closely and assess the extent of damage. Identify issues such as creases, stains, fading, scratches, or tears. Make notes of areas that require special attention during the restoration process.
Step 3: Clean the Photo
Begin by gently cleaning the photo using a soft brush or microfiber cloth. Remove loose dirt and dust particles that may have accumulated over time. Be careful not to apply too much pressure to avoid further damage.
If photos are stuck together, don’t try to separate them. Instead, soak them in distilled water for half an hour. Then, carefully divide them and leave them to dry.

Step 4: Flatten Creases and Wrinkles
To smooth creases and wrinkles, place the photo between two acid-free sheets of paper. Apply gentle pressure using weights or heavy books. Leave it in this position for a few days to allow the creases to gradually flatten out.
Step 5: Repair Tears
For torn corners or ripped-apart images, carefully cut a small piece of acid-free tape to match the size and shape of the damaged area. Apply the tape to the backside and gently press it.
Step 6: Protect and Preserve
Once you’ve completed the restoration, store the photo in an album with acid-free sleeves or in a frame to protect it from further damage. Display it in an area away from direct sunlight and high humidity. Regularly clean the photo using a soft brush or microfiber cloth to prevent dust accumulation.
Conclusion
Now you know how to restore old photos and breathe new life into cherished memories. By following these steps and using the right tools and supplies, you can manually restore old faded pictures. If you are wondering with other methods, check out the article at the link and discover the benefits and step-by-step instructions of digital and professional restoration. With restoration, you’re not only bringing a piece of history back to life but also creating a lasting connection to the past that can be cherished for years to come. Just remember to take your time, be patient, and embrace the imperfections that give these photos their unique character.
